
LVL2 in One Afternoon: The Solo Tattoo Artist Starter Setup
Think LVL2 is overkill for a solo artist? Here's the stripped-down setup you can finish in an afternoon — and how it grows with you instead of getting in the way.

If you're a solo tattoo artist, you've probably heard that LVL2 is "a lot." Multi-artist scheduling, AI intake, automations, a whole back office. That reputation isn't wrong for a busy studio. But it gives the wrong impression to someone working alone out of a private room or a single chair: that you'd need a week and a manual to get going.
You don't. The truth is that LVL2 is built so a solo artist can stand up a clean, professional booking setup in a single afternoon, then leave the heavy machinery switched off until you actually need it. This is a deliberately minimal path: a booking page, one link for your Instagram bio, a basic deposit, and one flash drop. Four things. Sensible defaults the whole way. You can be taking real requests by tonight.
Here's the exact order I'd do it in.
Step 1: Claim your handle and booking page
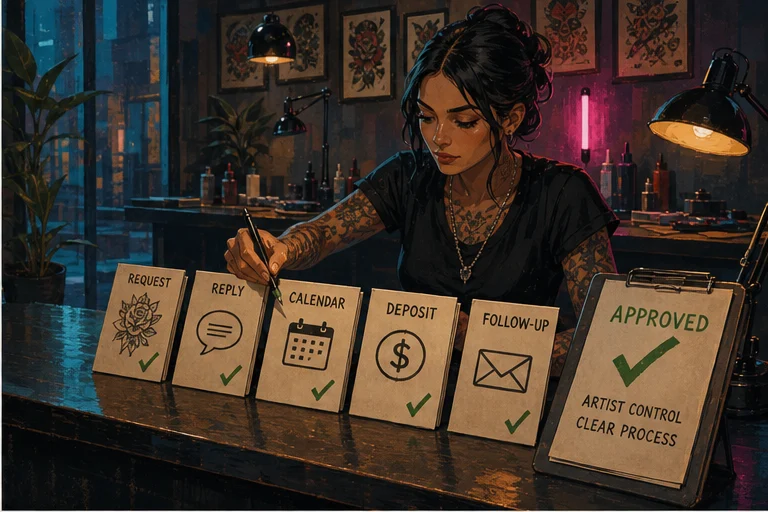
Start at the onboarding flow. The first real decision is your handle — the short name that becomes your public address, like lvl2.ink/yourname. Pick the same name you use on Instagram if you can. Consistency means clients never wonder if they're in the right place.
Once you've claimed it, you have a live booking page. Add three things and stop: a profile photo (your face or your logo), one line of bio that says your style and city, and a few of your best pieces in the gallery. Don't agonize over the gallery — five strong photos beat fifty mediocre ones. You can swap them anytime.
That's the page done for now. Resist the urge to fill in every optional field. The defaults are there because they work for most artists, and you can refine later once you see how clients actually use the page. If you want a fuller before-you-launch list, the booking page checklist covers it, but none of it blocks you from going live today.
Step 2: Put one request link in your Instagram bio
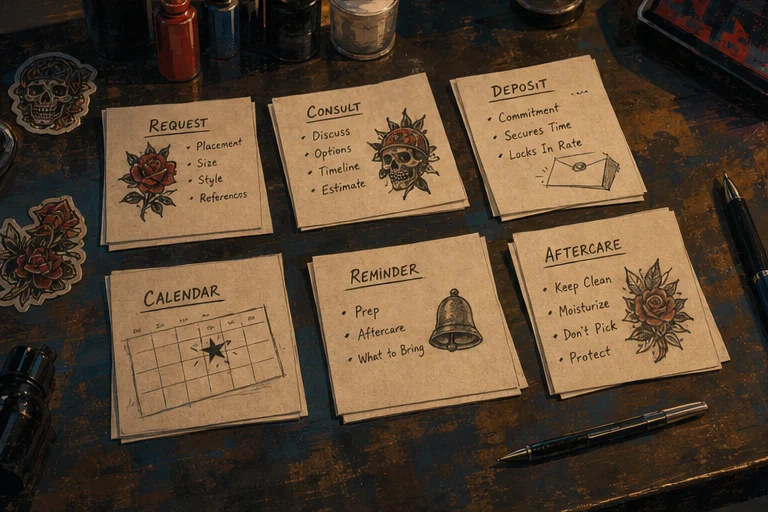
This is the single highest-leverage move for a solo artist, and it takes about two minutes.
Right now, your booking probably lives in your DMs — clients message you, you screenshot your availability, you go back and forth, you lose half of them. Replace all of that with one link. Your LVL2 booking page accepts tattoo requests directly: the client picks roughly what they want, drops reference images, gives you placement and size, and submits. It lands in one organized place instead of scattered across your inbox.
Copy your booking page URL and paste it into the link slot in your Instagram bio. If you use a link-in-bio tool, make this the top item. Then say so in your captions: "Books open — link in bio." That's the whole funnel. No app for the client to download, no account to create.
The point is to stop being a human appointment-scheduler. Let the page collect the boring details so the first time you actually talk to a client, you already know what they want.
Step 3: Turn on a basic deposit
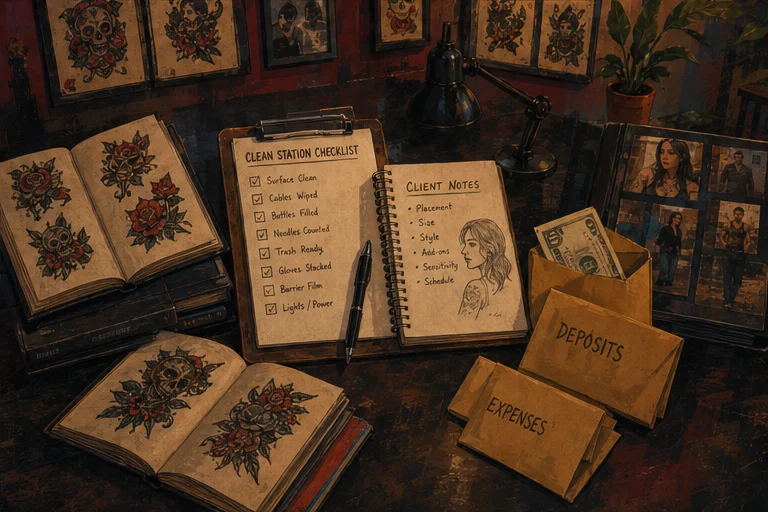
No-shows are the tax on being too easygoing. A deposit fixes most of it, and you can set one up in a couple of minutes.
In your booking settings, turn on a required deposit and pick a flat amount that matches your work — many solo artists land somewhere around the cost of an hour, but choose what feels right for your pricing. Set it to apply to the final tattoo cost, so the client understands it's not an extra fee, it's money toward their piece. Leave the rest of the payment options at their defaults.
That's it. From now on, a request isn't "confirmed" until the deposit is paid, which quietly filters out the tire-kickers and protects your calendar. You don't need to build refund policies or tiered pricing rules on day one. One deposit, one amount, on. You can get fancier later if you ever want to.
Step 4: Set up one flash drop
Flash is the easiest way to fill gaps in your schedule, and it's a great first taste of LVL2 beyond plain booking.
Keep this minimal too. Pick a handful of designs you're happy to repeat — five to ten is plenty for a first drop. Upload each as a flash piece with a clear photo, a price, and whether it's repeatable or one-time-only. Group them into a single sheet so clients can browse them in one place.
Then share the drop the same way you shared your booking link: a post, a story, the link in your bio. When someone claims a design, it flows into the same request pipeline as everything else, deposit and all. You're not running a second system — flash just plugs into the booking machinery you already turned on in Steps 1 through 3.
One drop is the whole assignment. Watch what sells, and let that inform your next one.
What you're deliberately skipping (and why that's the point)
Notice everything you didn't have to configure this afternoon. You didn't need to build complex automations, add a second artist, set up shared calendars, or finish a full merch catalog before publishing a useful booking flow.
Those capabilities are available in the same account, but you do not need to configure every surface on day one. Add the roster, AI-assisted tools, automations, kiosk, or storefront when they solve a real problem for your business. Your handle and client records stay in the same system as the setup grows.
That is the value of a growth path: begin with the smallest useful workflow, then add studio operations without rebuilding the public identity your clients already use. If you're earlier still — figuring out the craft and the business at once — the guide on how to become a tattoo artist pairs well with this setup.
Frequently asked questions
Is LVL2 overkill for a solo artist? It does not have to be. Every current LVL2 plan includes the product features; the simple setup is still four things: a booking page, a bio link, a deposit rule, and one flash drop. Configure only what your workflow needs now.
How long does setup actually take? Set aside an uninterrupted afternoon. The actual time depends on how ready your bio, policies, payment connection, availability, and flash artwork are. The goal is a complete working flow, not racing an artificial timer.
Can I start free? Yes. Starter is currently free forever, and every feature is included on every plan. The plans differ by the booking fee applied to client-paid deposits, so check the live pricing page for the current percentages and paid-plan terms.
Do my clients need to download an app or create an account? No. Clients just tap your link, fill in their request, pay the deposit, and they're done. The whole point of the bio-link funnel is to remove friction — nothing to install, nothing to sign up for on their end.
Will I outgrow it? The same account can expand into AI-assisted tools, a studio roster, automations, kiosk workflows, and a storefront while keeping the same handle and client records.
The bottom line
Being solo doesn't mean you need a barebones tool — it means you need a focused setup today and room to grow later. Start with your handle, one bio link, a clear deposit rule, and one flash drop. Configure the rest when it earns its place in your workflow.
When you're ready, start with the onboarding flow and have it running before dinner.
Set up LVL2 in an afternoon
Claim your page, share one link, turn on a deposit. Free to start, no card required.
Start Free